

When I am at home, thinking about a past Trip to Italy, or looking forward to the next one, I sometimes cook some of my favorite Italian dishes to tide me over until I return. This focaccia recipe has been one of my go to’s for a long time. It’s the perfect accompaniment to pasta or soup, an excellent base for pizza*, and it makes delicious sandwiches. It’s super easy to make, as it requires no shaping, and minimal kneading (no kneading if you have a stand mixer) - just a little patience for an overnight rise.

Focaccia fresh from the oven
A Few Words on Focaccia
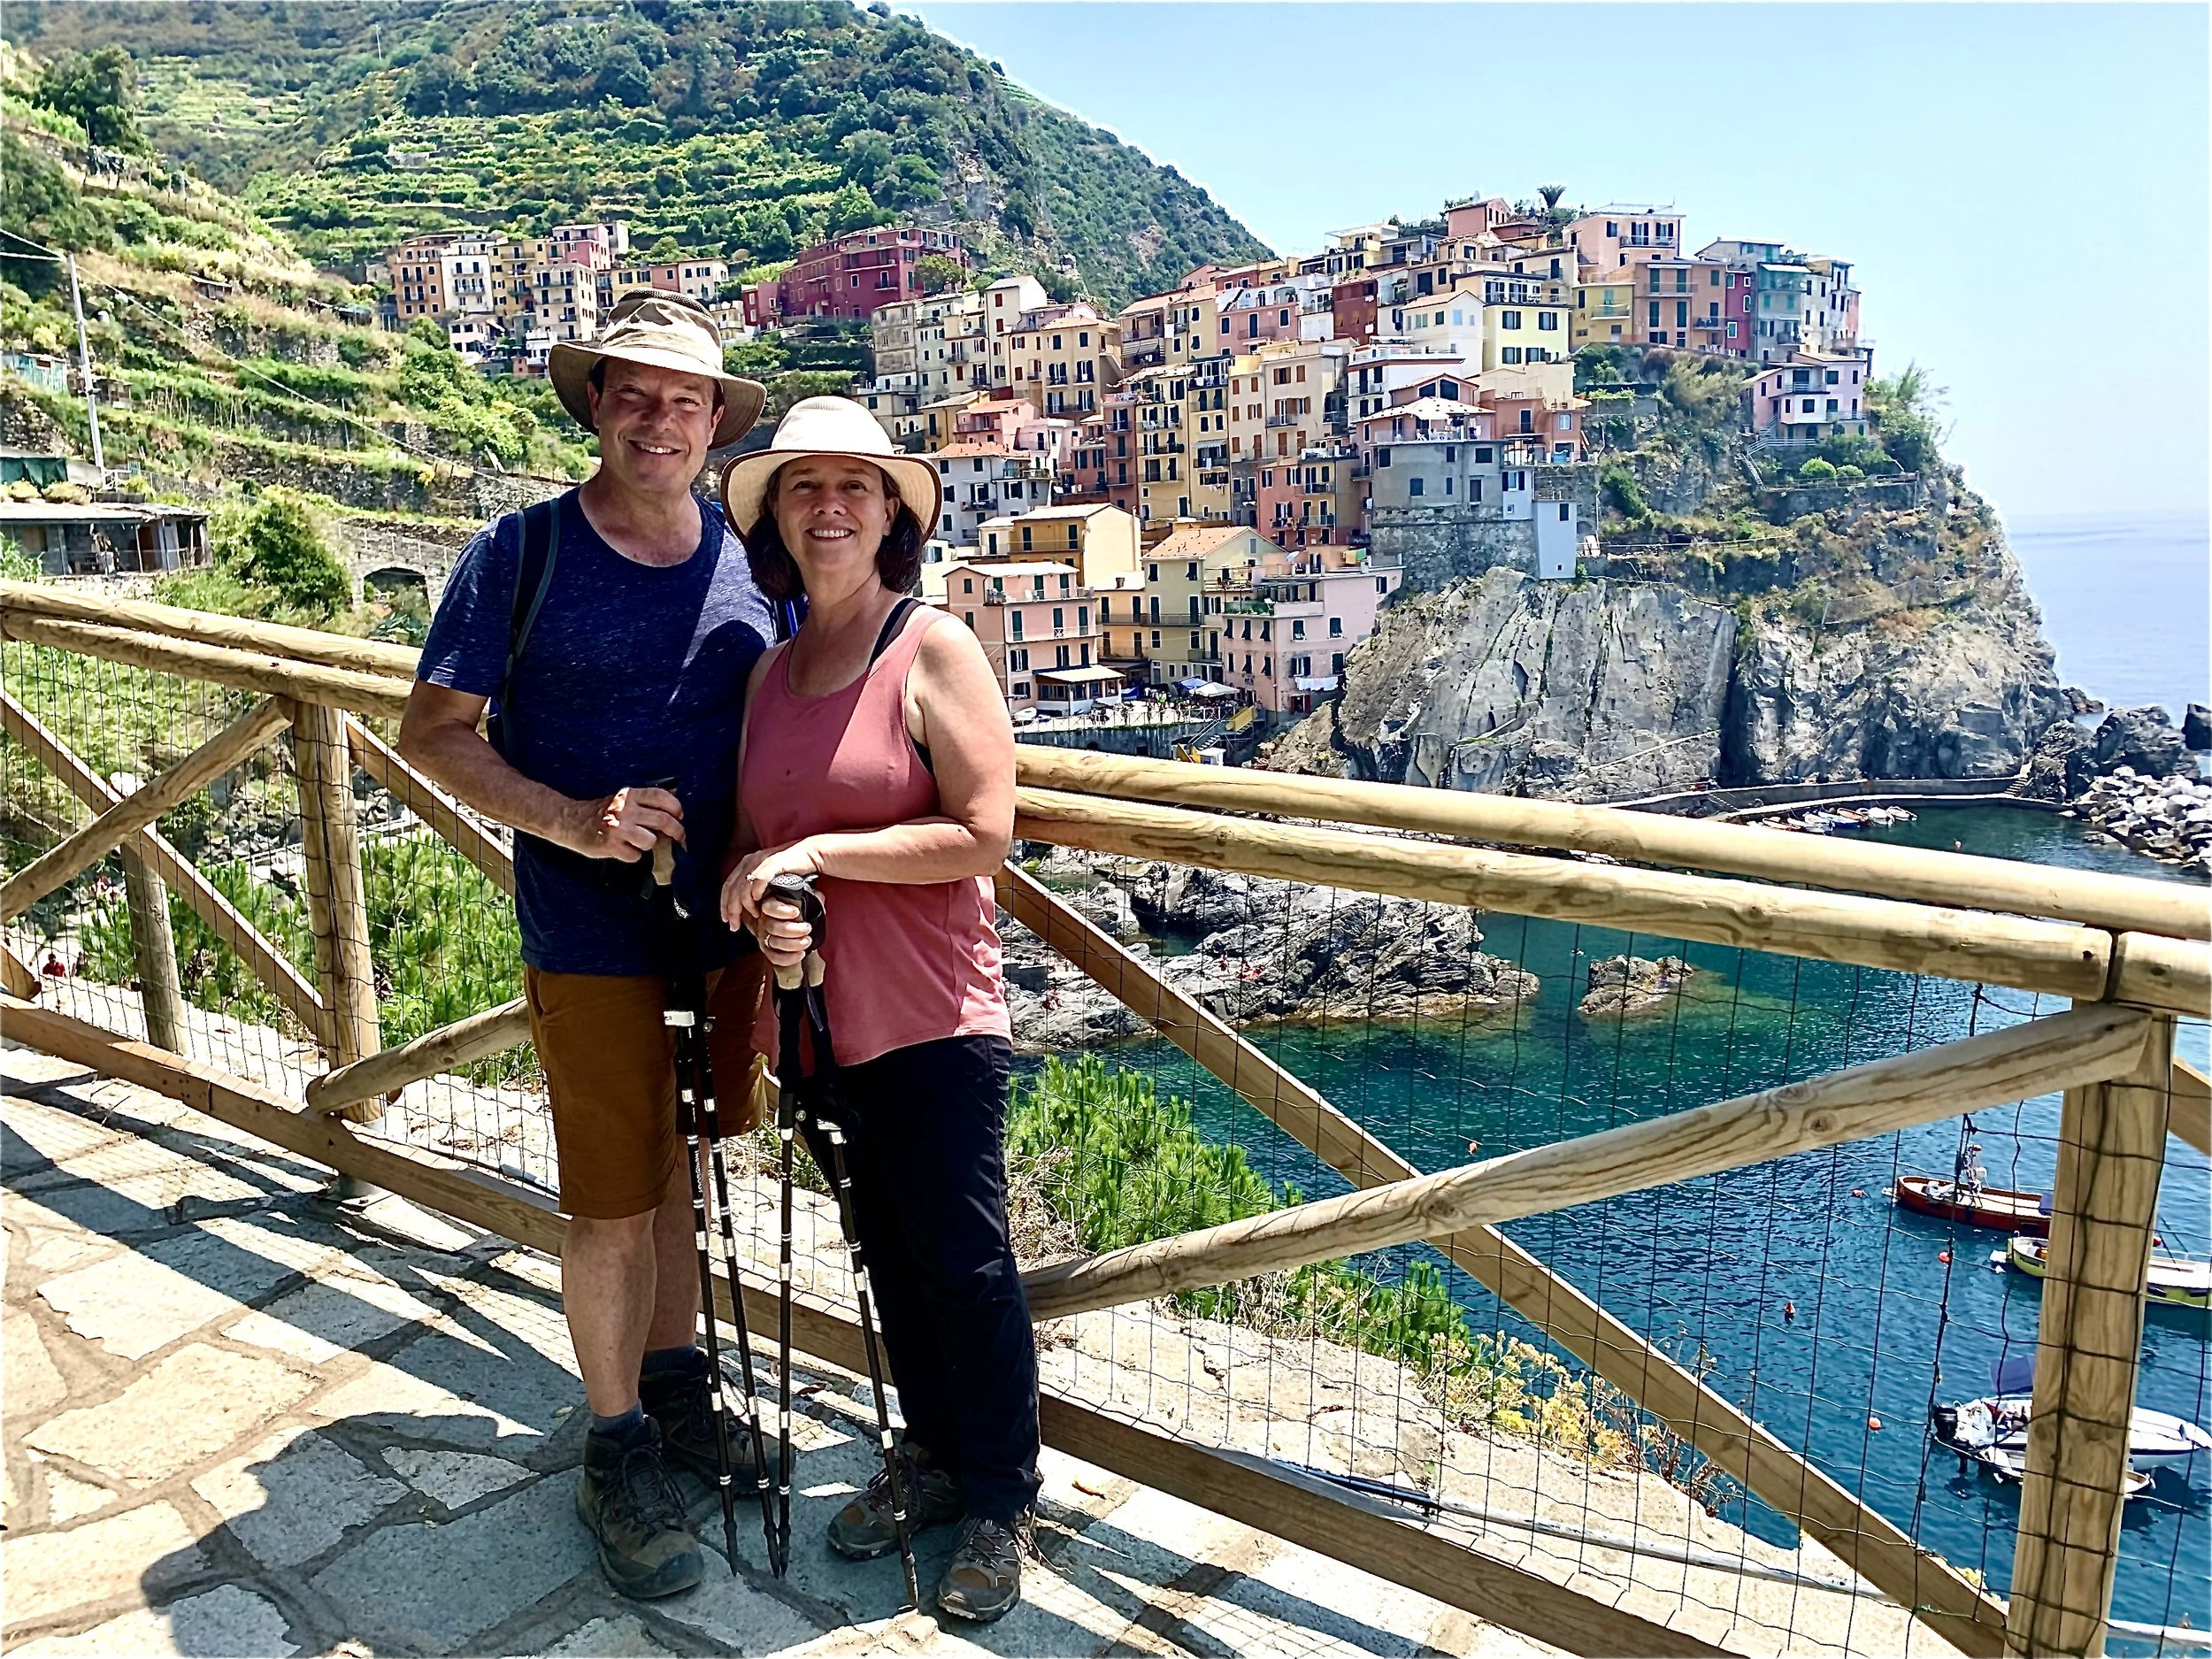
One of the things I love about baking focaccia is that it transports me to Italy. When I get it just right, the crispy crackly crust yields to a soft spongy interior. Add a tumbler of crisp Vermentino and I can nearly imagine myself staring out over a harbor in the Cinque Terre.
Indeed, this recipe yields a type of focaccia that is widely associated with Ligurian cuisine, however, throughout the region you’ll find many different varieties of the flatbread. For instance, if you ever find yourself in Recco, a small coastal town near Genoa, you’ll be treated to focaccia col formaggio, which consists of a mild cheese sandwiched between two paper thin layers of dough and baked until crispy on the outside. Outside of Liguria are even more variations of focaccia, such as focaccia dolce, which is popular in the northwestern part of the country. Though the base is similar to this recipe, it’s topped with sweet ingredients such as raisins, sugar, and honey.
Like so many Italian foods, regional differences in focaccia abound...and they’re all delicious. I’m so looking forward to sampling as many different types of focaccia as possible the next time I’m in Italy! Until then, my little home bakery will have to do.

Light and airy focaccia ready for eating
How to Make Focaccia
Out of pure laziness and an undying love for my Kitchen Aid, I like to mix focaccia dough in my stand mixer but you can definitely mix it by hand if you prefer. I highly recommend popping the dough in the fridge for an overnight rise. The cold fermentation results in a more flavorful, crispier finished product because...science (I’ll let Cooks Illustrated explain, they’ll do a much better job than me). A few hours before you're ready to bake, gently de-gas and roughly shape the dough before transferring it into a baking dish for the final rise (about 2 hours).
Then comes the fun part - aggressively poking the dough to form the characteristic dimples, and adorning it with olive oil and your topping of choice. This could be anything from roasted vegetables, to halved cherry tomatoes, to thinly sliced red onions or shallots, to chopped herbs, to parmesan cheese. I usually just keep it simple with a bit of flaky sea salt, but during a recent bake, I mixed some chopped garlic and rosemary into the oil before drizzling it over the dough. It was tasty but some of the garlic started to burn toward the end of cooking. Next time I think I’ll use sliced garlic instead in the hopes that the larger pieces would take longer to cook. Or I may I’ll grate some garlic in melted butter and brush that on top when the focaccia comes out of the oven.
All that to say that when it comes to toppings, you can experiment and have fun with it! Even if it’s not 100% perfect, it will still be delicious...as evidenced by the fact that Sam happily enjoyed many pieces of my burned garlic focaccia with no complaints. The only tip I do have about topping your focaccia is to go light on any additions - if you add too much of a topping during the baking process, you’ll prevent the bread from getting brown and crispy on top.

Focaccia dough right after mixing

Focaccia dough after an overnight rise

Focaccia before 2nd rise

Dimpling the focaccia dough

Focaccia ready for the oven
Focaccia Recipe
2 ¼ cups warm water (about 100F)
2 teaspoons honey
2 ½ teaspoons yeast
5 tablespoons olive oil, divided, plus more
5 cups flour
2.5 teaspoons kosher salt
Toppings (optional)
Combine water, honey, and yeast in the bowl of a stand mixer (or other large bowl) and let sit for 5 minutes. Add 2 tablespoons of oil followed by the flour (properly measured by spooning the flour into a dry measuring cup and leveling it off) and salt. Mix on low using the dough hook attachment until just combined (alternatively, mix using a wooden spoon or your hands). The dough will be shaggy and sticky. Cover the mixture with a damp cloth and allow it to rest for 30-45 minutes (this rest allows the flour to absorb the water and for gluten to begin developing, which will make the kneading process easier). After the rest, mix the dough on low for about 1 minute.
Generously grease a large container or bowl with olive oil and transfer the dough into your chosen vessel. Flip the dough over so that it’s coated in oil. Cover and refrigerate for 8-24 hours.
A few hours before you’re ready to bake, lightly butter and generously oil a 13x9 inch baking pan (if you’d like a crispier focaccia, use a baking sheet instead). Remove the dough from the fridge. Using both hands scoop up the middle of the dough and stretch it upwards until the ends come free from the container. Fold the ends under the rest of the dough. Repeat the stretching and folding process 2-3 times (this video demonstrates this technique well). This builds a bit of extra strength in the dough, gently de-gases it, and gives it a rough shape. Transfer the dough seam side down to the prepared pan. (If you don’t feel comfortable with the stretch and folding process or just don’t feel like it, you can just scoop the dough into your baking pan of choice...the difference will be fairly negligible.) Stretch the dough slightly toward the edges of the pan, but don’t worry if it’s not filling it, it will expand outward as well as upward as it rises. Cover and allow the focaccia to rise in a warm spot for about 1.5-2 hours.
With an oiled finger, gently poke the dough. If it springs back slowly and leaves a small indentation, it’s perfectly proofed and you can move on to the next step. If it springs back quickly, it’s under-proofed - allow to rise for half an hour longer. If it deflates/doesn’t spring back at all, then it’s probably over-proofed...don’t despair, just bake as directed and know that the end product may be a little denser and flatter than it otherwise would have been, and try again tomorrow!
Preheat the oven to 450F. If you’re using a baking sheet, gently stretch the dough to fill the pan. Using all ten fingers, dimple the bread all over by poking your fingers nearly to the bottom of the pan. Drizzle the bread with 3 tablespoons of olive oil and top as desired. Bake for 20-25 minutes or until the focaccia is pulling away from the sides of the pan and the top is golden brown and crispy.
*If you’d like to use this as a pizza base, use a baking sheet and skip the dimpling step. Note that it will essentially be a thick crust Sicilian/Grandma style pie. For a thinner crust (though still not super thin), you can divide the dough between two baking sheets. It likely won’t fill the whole baking sheet, so just form it into an oblong shape after the rise.
Dreaming of travel to Europe? We can help with that! We are here for your custom trip planning to Italy, France, Ireland, the UK and all of Europe. We are experts in creating custom travel itineraries and leading small group trips to European destinations. We also book European cruises! Feel free to reach out via email — We’re always available to talk about travel!

Chelsea is one third of the Euro Travel Coach team (and is the daughter of the other two thirds of the team, Greg and Betsy). She has a passion for food and wine and has a background in hospitality. She attended Cornell University's School of Hotel Administration and interned with two of New York City's best restaurant groups. She also worked at the number one wine auction house in the United States, Chicago's Hart Davis Hart Wine Co. There, she organized various wine centric events for HDH's most valuable clients. She and her husband moved to Copenhagen, Denmark in 2016 and then to Bristol, UK in 2018 and traveled through Europe extensively during their time living abroad. Her expertise in food and wine and her experience living in Europe helps her to find amazing accommodations, delicious restaurants, and unique experiences for Euro Travel Coach clients.


If you want to Plan an Amazing Trip to Europe, we recommend that you follow these steps. Whether you want to Travel to France, explore the United Kingdom, visit Ireland, enjoy the Best of Italy, or Craft a Great Trip to Any European Country, we help you create an incredible European Travel Itinerary.